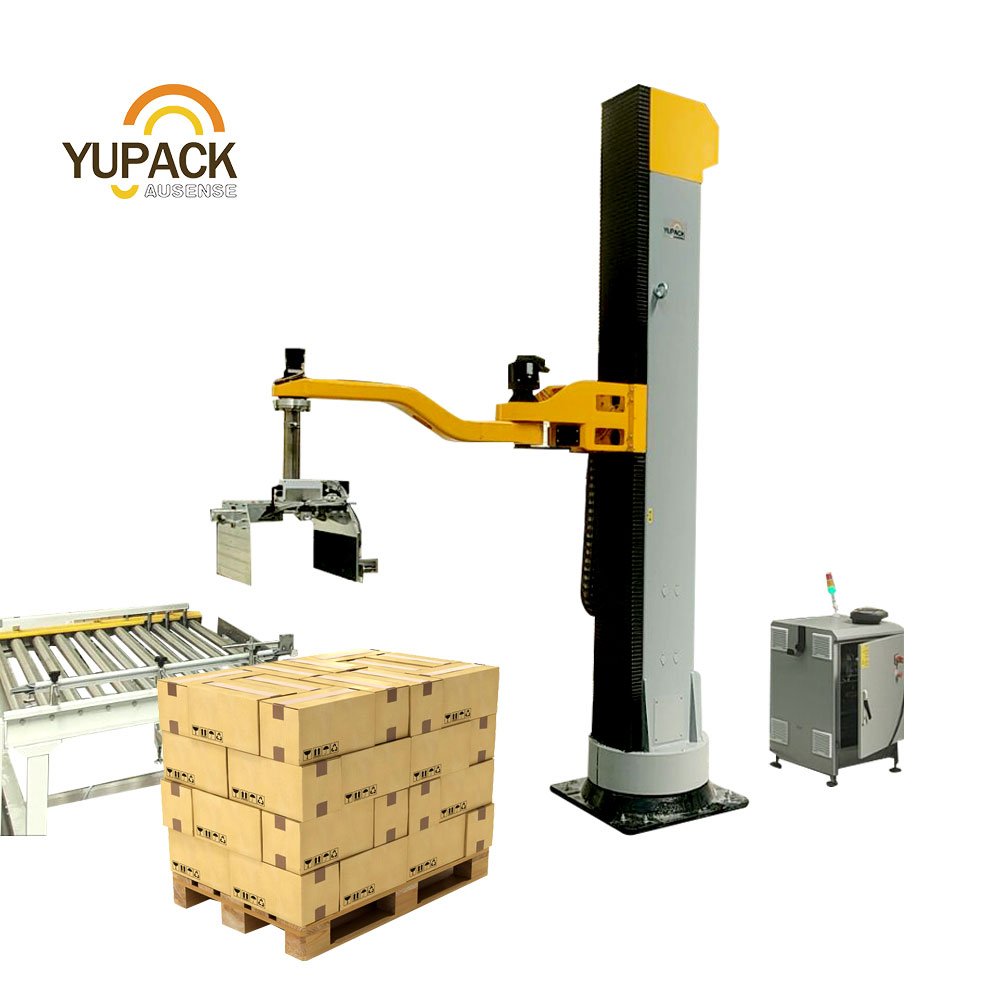
In the previous article, YUPACK introduced how to set the coordinates of single column palletiser,
but users who are familiar with the palletiser know that it is not enough to set only one coordinate
for the palletiser to grab a material and put it into a specified position, and it is necessary to set a
complete coordinate system. This is what YUPACK wants to share with you today, the setting of
coordinate system of single column palletiser, and the work can be done with the palletiser
manufacturer in the factory setting. This work can be set by the palletiser manufacturer at the factory,
or the manufacturer can teach the user how to set it, so that it will be more convenient in the future
when you need to increase the number of palletisers or change the products.
1 Select the origin P0 and P1, P2 to be used as the basis for the calculation of the coordinate system.
2 Adjust the robot to an appropriate attitude, so that it can be aligned to P0, P1, P2.
3 For the axes of P1 and P2, tap the Axis selection above to switch the axes.
4 XYZABC to align the tool tip to P0, then press Take P0 to bring the Current World Coordinates into the P0 coordinates.
5 If you only intend to use the offset coordinate system position and not change the rotation of the
coordinate system, just correct P0.
6 XYZABC to align the tool tip to P1, then press Take P1 to bring the "current world coordinates"
into the P1 coordinates.
7 XYZABC to align the tip of the tool with P2, and then press "Take P2" to bring the "Current World
Coordinates" into P2 coordinates.
8 The system will automatically calculate the attitude of the coordinate system.
PS:The points for setting coordinates described above are based on the arrangement inside the Axiomtek palletiser demonstrator, so if users want to adjust the coordinates, they have to combine with the YUPACK palletiser demonstrator and the instruction manual, which is not fully applicable to other brands of palletisers.
